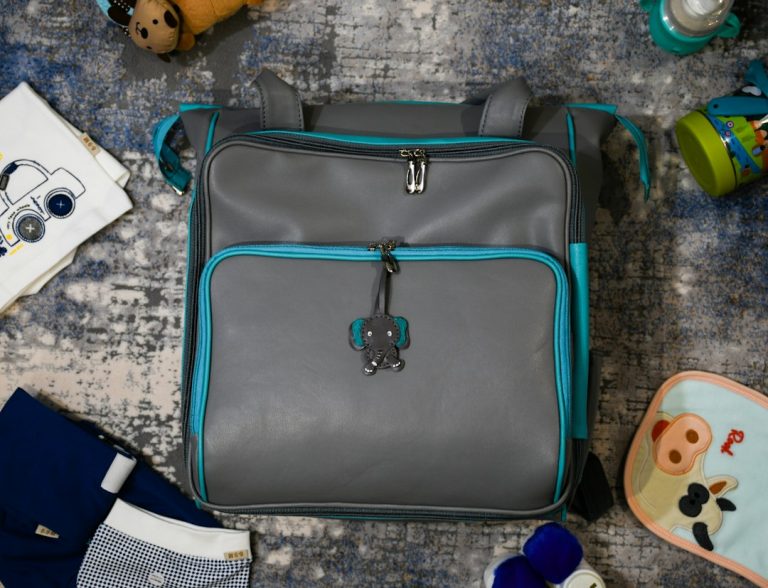
How to Organize a Diaper Bag for Quick Changes
A diaper bag can be full and still feel useless. The problem usually is not a missing item. It is that the one thing you need is buried under three things you do not need yet. During a squirmy change in a cramped restroom, rummaging is the part that turns a routine stop into a stressful one.
A better system starts with retrieval, not capacity. Every item gets a predictable home, the first-change supplies travel together, and anything used or messy has a separate return path. That approach works with a backpack, tote, stroller caddy, or compact crossbody; you do not need a specialized bag to use it.
This guide shows how to organize a diaper bag around a simple pocket map, a grab-and-go changing kit, and a two-minute reset. If you are still deciding what belongs in the bag, start with our day-out diaper bag checklist. Then come back here to give those items a home.
Start with the 30-second rule
Imagine the bag is zipped, one hand is occupied, and you have 30 seconds to reach the changing supplies. Could you find a diaper, wipes, a disposable bag, and the changing mat without unloading the main compartment? If not, the layout needs work.
The 30-second rule is a design test, not a race. It pushes the most frequently used items toward the easiest openings. It also exposes false organization: a bag can look beautifully divided yet still require both hands, several zippers, and a memory of which identical pouch holds what.
Run the test at home. Close the bag, put it where you normally carry it, and retrieve the complete change kit with one hand. Notice every pause. A snagged zipper, an unlabeled pouch, or wipes stored beneath spare clothes is a clue. Change the layout until the sequence feels obvious.
Empty the bag before you organize it
Do not reorganize around yesterday’s receipts, outgrown spare clothes, and half-empty packets. Empty every compartment onto a table. Wipe out crumbs and check the care instructions for the bag. Discard trash, return household items to their usual places, and set aside anything that no longer matches the outing or your child’s current stage.
Next, group what remains by job rather than by shape. All changing supplies belong together even if one is flat and another is bulky. Caregiver items belong together even if they fit neatly in unrelated pockets. A job-based system is easier to remember because it mirrors the moment you will use it.
Use five working groups:
- Change now: the supplies needed for one ordinary diaper change.
- Clean reserve: backup diapers, spare clothing, and replenishment items.
- Food and drink: only the items appropriate for your family’s current outing plan.
- Comfort and weather: a small layer, sun hat, or another outing-specific item.
- Caregiver: keys, wallet, phone, and a small personal item.
Add a sixth destination for the return trip: dirty or used items. This is not storage in the usual sense. It is a quarantine zone that prevents damp clothing, used bibs, or trash from migrating through the clean compartments.
Build a pocket map that matches access speed
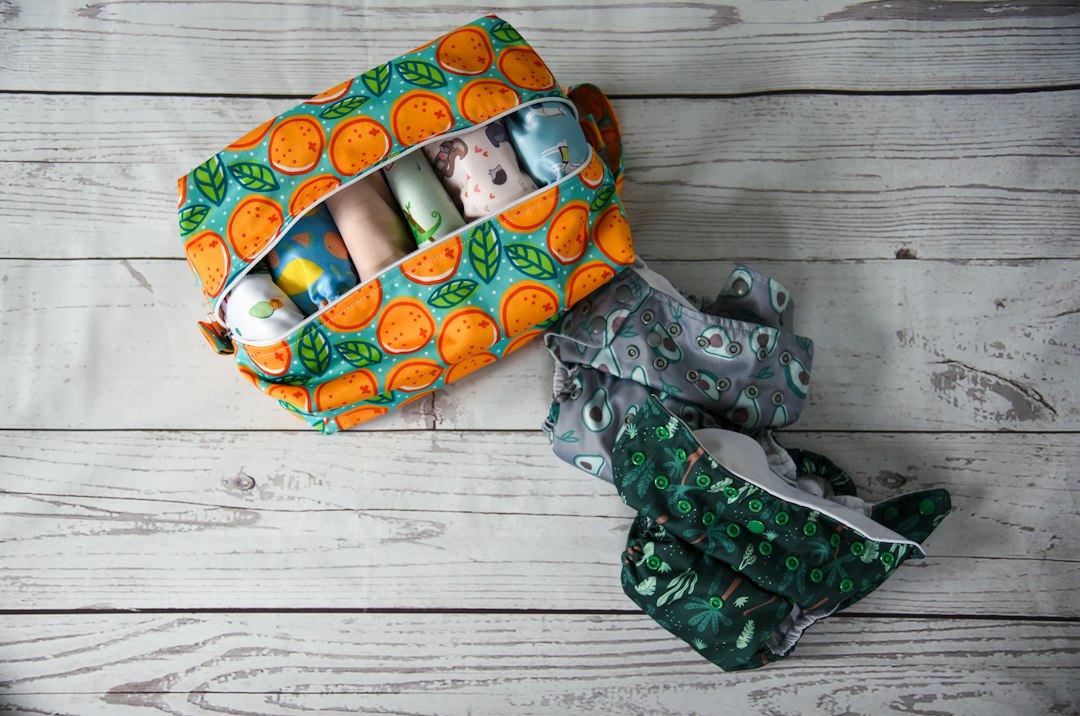
A pocket map is a short assignment for every part of the bag. It should be simple enough that another caregiver can understand it after a ten-second explanation. Think in layers: outside, top, center, and bottom.
Outside pockets: one-motion items
Reserve an exterior or top-access pocket for items you reach while moving: keys, phone, a small cloth, or a sealed waste bag. Do not turn this into a miscellaneous drawer. If the pocket is packed tightly, the item at the back is no longer quick access.
Keep valuables in a closure you trust and in a position that suits where you carry the bag. The organizing principle is accessibility for you, not visibility to everyone else.
Top of the main compartment: the next likely task
Place the complete changing pouch at the top or beside the widest opening. It should lift out without removing a jacket, blanket, or snack container. If your bag opens clamshell-style, put it in the panel you naturally expose first.
Center: clean reserve and outing modules
The middle is for backup supplies and modules you may use once: spare clothes, an extra changing set, or a weather layer. Soft items can sit vertically so you can see their edges instead of stacking them like folded laundry. A vertical layout prevents the bottom item from disappearing.
Bottom: low-frequency, light items
The bottom should hold only items you rarely need and can identify by touch. Avoid placing a must-have underneath everything else. Heavy objects also change how the bag carries, so test the packed bag before committing to a bottom zone.
Make a grab-and-go changing kit
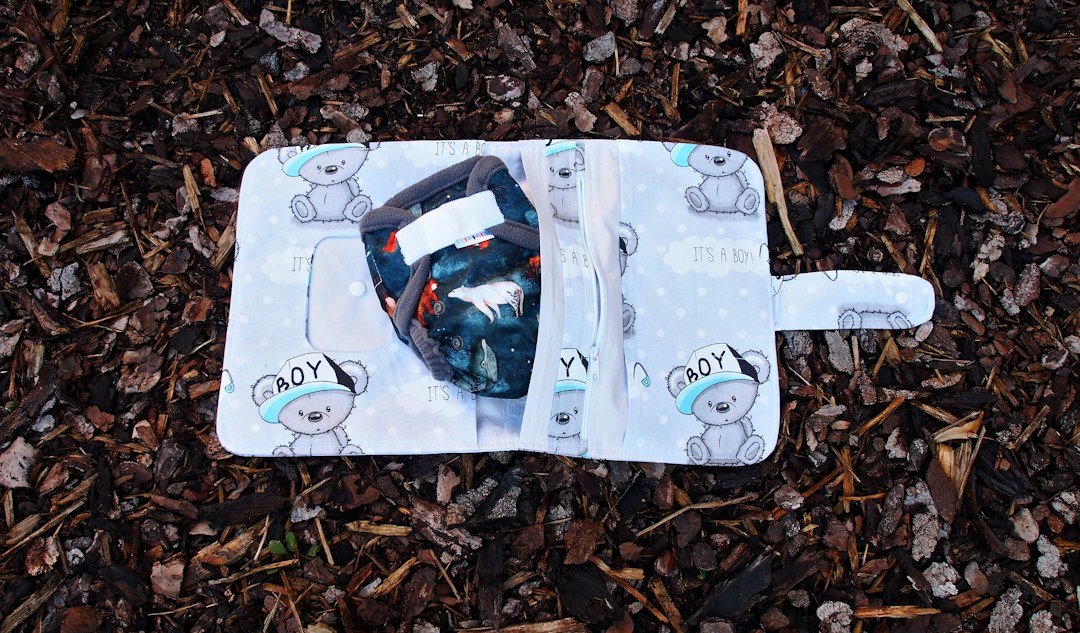
The changing kit is the core of the system. It is a small pouch or organizer that leaves the main bag as one unit. Pack the supplies for one routine change together, then keep replenishment stock elsewhere in the bag. That distinction prevents the change pouch from becoming a miniature version of the entire diaper bag.
A practical first-change kit usually contains:
- One or two diapers, based on the outing and your normal backup plan.
- A travel portion of wipes or the smallest package that works for you.
- A portable changing mat or other surface layer you already use.
- A sealable bag for used items or soiled clothing.
- Any routine changing item your family already uses, packed according to its label.
The Centers for Disease Control and Prevention recommends bringing supplies to the changing area before beginning and keeping soiled items away from surfaces that cannot be easily cleaned. A self-contained kit supports that sequence because you can place the supplies within reach before the change starts.
Keep the kit visually distinct from other pouches. A different texture, a large label, or a consistent zipper pull works better than memorizing colors that look similar in dim light. The goal is for any caregiver to grab the right module without opening it first.
Use a one-handed retrieval sequence
Organization is most useful when it creates a repeatable motion. Practice the same sequence you want to use away from home:
- Set the bag on a stable spot where it will not tip or spill.
- Open one main zipper or flap.
- Lift out the changing kit by its handle or edge.
- Place the kit within reach before starting.
- Open the dirty-item bag or identify its compartment.
- Afterward, close used items away from clean reserves and return the kit to its assigned position.
This sequence is deliberately boring. That is the point. You should not have to solve a packing puzzle while supervising a child. The CDC’s home diaper-changing guidance also emphasizes keeping a hand on the child and washing both the child’s and caregiver’s hands after a change. Bag organization supports preparation, but it does not replace those hygiene steps.
A worked example: the two-minute public-restroom stop
Suppose the bag is a backpack with two exterior pockets, one front zipper, and one large compartment. The caregiver keeps the phone and keys in the upper exterior pocket. A single waste bag and small cloth sit in the lower exterior pocket. The front zipper holds caregiver items. Inside, the changing pouch stands vertically against the back panel, spare clothes sit beside it, and an empty wet bag lies flat along the front.
At the changing station, the caregiver opens the main zipper and removes only the changing pouch and surface layer. The clean reserve stays in the backpack. After the change, used items go into the prepared return bag. The pouch returns to the same vertical slot, making it obvious at home whether it needs restocking.
Notice what this example does not do: it does not assign every tiny item its own pocket. Over-separating creates more decisions. The system organizes by task, then uses the bag’s built-in pockets only where they reduce a real retrieval step.
How to organize a small diaper bag without overpacking
A smaller bag benefits from the same map, but every module must earn its space. Start with the outing length and likely stops. Pack the day, not every possible day. A short neighborhood walk and a long appointment do not require identical reserves.
Use flat, flexible containers where possible, and avoid nesting several empty pouches. Stand soft items on edge so the bag opens like a file drawer. If two items serve the same purpose, choose the one that matches the actual outing rather than carrying both automatically.
Try the one-in, one-out rule: if you add a bulky weather layer or an outing-specific item, remove something that will not be used on that trip. This keeps the zipper from becoming a compression tool. A bag that closes easily is also quicker to inspect.
Do not shrink the system by hiding essential changing supplies in multiple micro-pockets. Keep the change-now module intact, then reduce reserves first. The object is a smaller decision tree, not merely a lighter bag.
Create a handoff system for two caregivers
A personal memory system fails as soon as someone else carries the bag. Make the layout explain itself. Use plain labels such as CHANGE, CLEAN, and USED. If labels feel too formal, use a consistent tactile cue: the change pouch has a loop, the clean reserve is soft, and the return bag is flat.
Give the second caregiver a 20-second tour. Show where the complete change kit lives, where used items return, and what must be restocked. Avoid instructions such as “the wipes are usually somewhere on the left.” A location that changes is not a system.
When the bag moves between homes, cars, or caregivers, add a small restock card inside the main opening. The card should list only the minimum reset: replace used diaper, refill wipes if low, add clean clothing if removed, clear trash, and return keys or personal items.
Adjust the map for stroller, car, and wearable use
The same bag behaves differently depending on where it rides. In a stroller basket, the opening may face sideways or become partly blocked. In a car, the bag may tip on the floor. When worn, weight distribution matters more than visibility.
For stroller outings, test whether the change pouch can be removed while the bag stays in the basket. Keep the bag within the stroller manufacturer’s approved storage areas and follow the stroller manual; do not hang weight where the manufacturer warns against it. For car trips, place the bag where it will not become a loose projectile and where the driver does not need to reach for it while driving.
For a backpack or crossbody, keep the heaviest routine items close to your body and confirm that closures remain accessible. The pocket map can change by carrying mode, but the modules should not. The changing kit should still look and feel the same.
Use a two-minute reset after every outing
The best organization system is maintained at the moment when you know exactly what was used. Waiting until the next departure turns restocking into guesswork. Put the bag in one home location and run the same reset before you settle in.
- Remove trash and move used or damp items to the appropriate household destination.
- Restock the changing pouch to its normal ready level.
- Replace any clean clothing that was used.
- Return household and caregiver items that do not live in the bag.
- Check the next outing and add only what changes for that trip.
- Zip the bag and put it in its assigned launch spot.
This reset should be short because the bag already has a map. If it takes ten minutes, the system may contain too many categories or too much reserve stock. Simplify until you can scan each module rather than inventory every object.
The printable pocket-map exercise
Draw a simple outline of your bag or write four rows on a note: OUTSIDE, TOP, CENTER, BOTTOM. Assign one job to each area. Then add the USED return path. Keep the map beside the bag for a week and revise it based on actual retrieval, not on how tidy the bag looks.
A starter map might read:
- Outside: keys, phone, one waste bag.
- Top: complete changing pouch.
- Center: clean reserve, spare clothes, outing module.
- Bottom: light, low-frequency item only.
- Return path: sealed used-item bag in a dedicated washable pocket.
After three outings, circle anything you never used and star anything you had to search for. Move starred items closer to the opening. Question circled items before automatically repacking them. This small review turns the pocket map into a system based on your routine rather than someone else’s ideal bag.
Common organization mistakes
Every pocket becomes miscellaneous
A pocket without a job collects receipts, wrappers, and duplicates. Give each pocket one category or leave it intentionally empty. Empty space is useful because it gives you somewhere to put an outing-specific item without reorganizing the whole bag.
Clean and used items share the same return path
A waterproof or sealable used-item destination should be identifiable before a mess occurs. Do not rely on finding an unused shopping bag at the bottom of the main compartment. Prepare the return path as part of the packing routine.
The reserve stock blocks the first change
More diapers can feel reassuring, but they should not sit on top of the one-change kit. Keep immediate-use supplies separate from replenishment stock so quantity does not slow access.
Labels describe objects instead of tasks
A pouch labeled SMALL ITEMS does not tell a tired caregiver when to use it. Labels such as CHANGE, CLEAN, and USED mirror the workflow. Task labels also survive when the exact contents change with age or outing.
The layout is never tested while the bag is carried
A table layout can fail when the bag hangs vertically or sits under a stroller. Pack it, carry it, set it down, and perform the 30-second test. If everything shifts, add fewer, larger modules rather than more dividers.
Quick final check before you leave
- The change kit comes out in one motion.
- Clean reserves are visible without unpacking the bag.
- Used items have a separate, identifiable return path.
- Another caregiver can find the change kit without asking.
- The bag closes without forcing the zipper.
- The layout matches how the bag will be carried today.
A well-organized diaper bag is not the one with the most compartments. It is the one that makes the next action obvious. Build around the changing task, keep clean reserve separate, create a return path for used items, and reset the bag while the outing is still fresh in your mind.
Once the pocket map works, resist the urge to redesign it every week. Consistency is what makes the system fast. Adjust only when your child’s needs, the outing type, or the bag itself genuinely changes.