Diaper Bag Checklist for a Day Out
A diaper bag for a day out does not need to hold the entire nursery. It needs to cover the next few hours, one realistic delay, and the problems that are hardest to solve away from home. That usually means a complete diaper change, clean clothing, the child’s normal food or drink plan, a small cleanup kit, and the caregiver’s essentials.
The easiest way to pack is to start with time and routine instead of copying a giant master list. A 90-minute walk, a four-hour museum visit, and a full day with two children need different loads. The checklist below gives you a practical baseline, then shows how to scale it without turning the bag into a heavy catch-all.
This is a general organization guide, not medical or feeding-storage advice. Use the products and quantities that already suit your child, follow their labels, and follow any individual guidance from your child’s clinician.
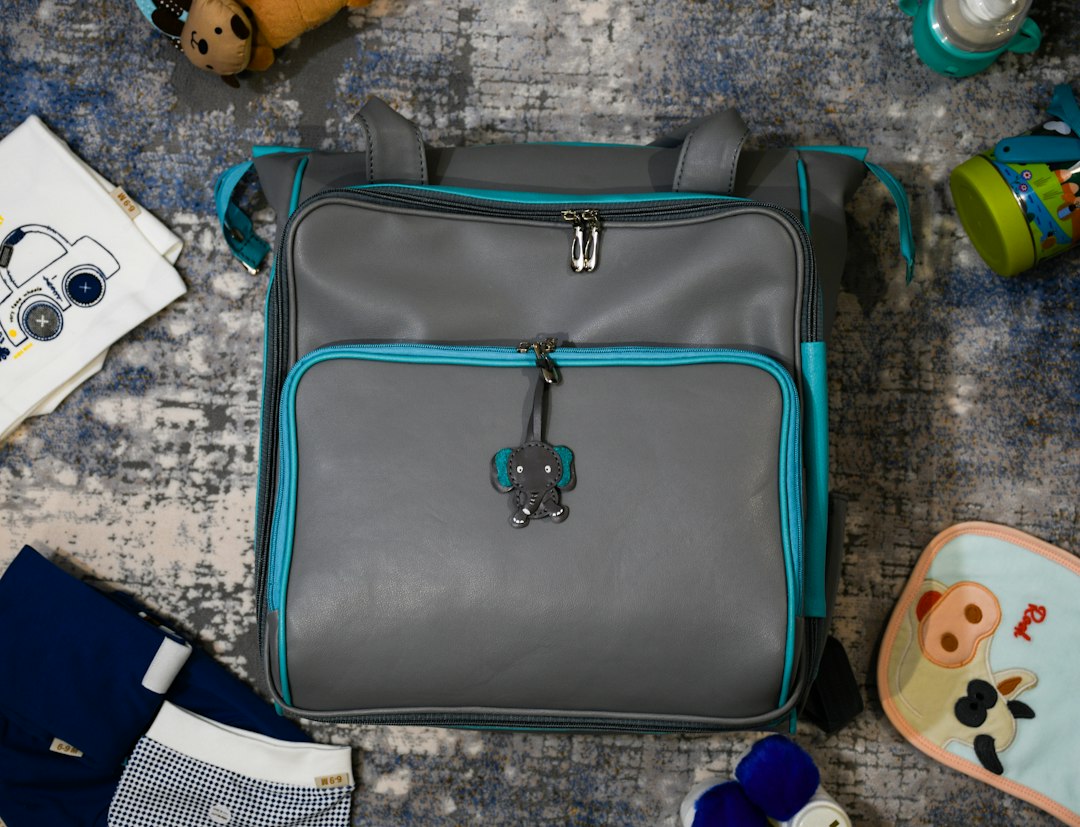
The quick diaper bag checklist
If you are leaving soon, use this as the starting load for one child on an ordinary short-to-half-day outing. Adjust for age, weather, distance from home, and your child’s usual routine.
- Diapers for the expected outing, plus one extra change
- Travel-size wipes or a checked refillable wipes case
- Portable changing mat or clean barrier
- Two disposal bags or wet bags
- One complete change of clothes
- One small cloth or burp cloth
- The child’s usual feeding or snack supplies for the outing
- One water bottle or drink for the caregiver
- Weather layer appropriate to the forecast
- One compact comfort item or quiet activity
- Caregiver essentials: phone, keys, wallet, and any required tickets
- A simple “used or dirty” pouch kept separate from clean supplies
That list is intentionally small. Add an item only when you can name the situation it solves and when that situation is reasonably likely on this specific outing.
Use the time-block method instead of guessing
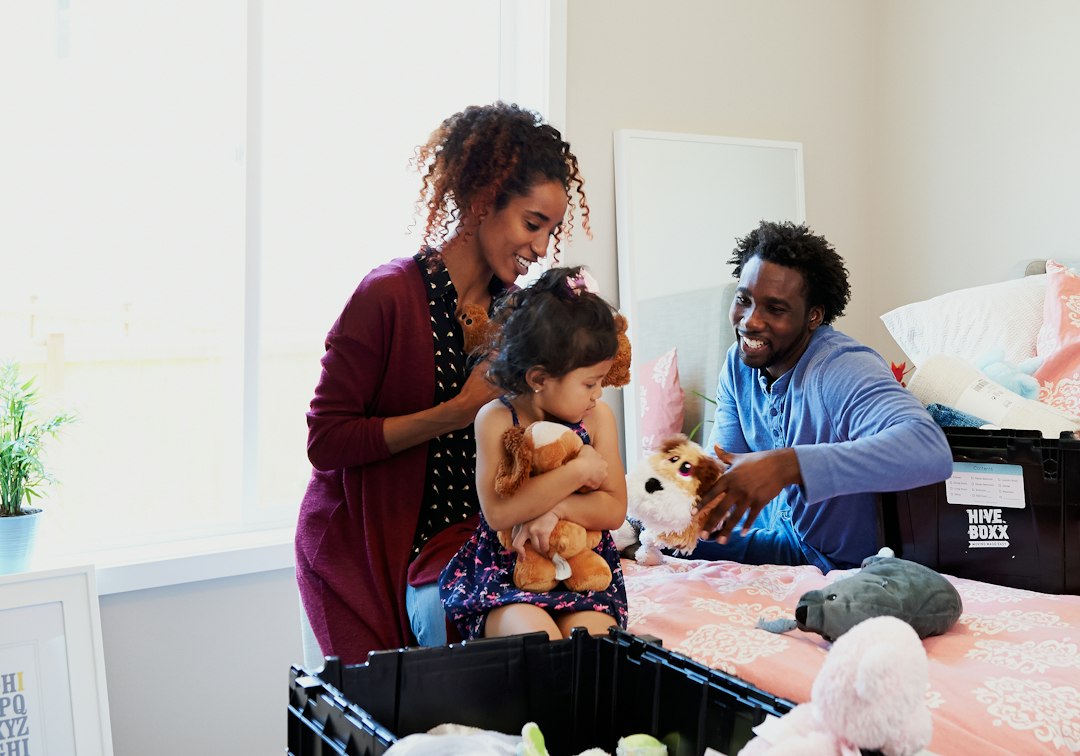
Begin with the door-to-door time, not just the event time. A two-hour appointment can become a four-hour outing after driving, parking, waiting, and an unexpected stop. Write down the realistic total before choosing quantities.
Next, break that time into routine blocks: diaper changes, meals or snacks, naps, and clothing needs. Pack for the number of blocks you normally expect, then add a small delay margin. The goal is not to predict every emergency. It is to avoid being caught without the next essential item if the schedule slips.
A simple quantity rule
For diapers, start with your child’s normal change pattern during the expected door-to-door window, then add one extra diaper for a routine outing. If your child is in a phase with frequent changes, if bathrooms will be hard to reach, or if the trip takes you far from stores and home, increase that margin based on your own experience.
Use the same logic for clothing and food supplies. Pack what the schedule actually calls for, plus a reasonable backup—not a full second day unless the itinerary truly requires it.
Build one complete change kit
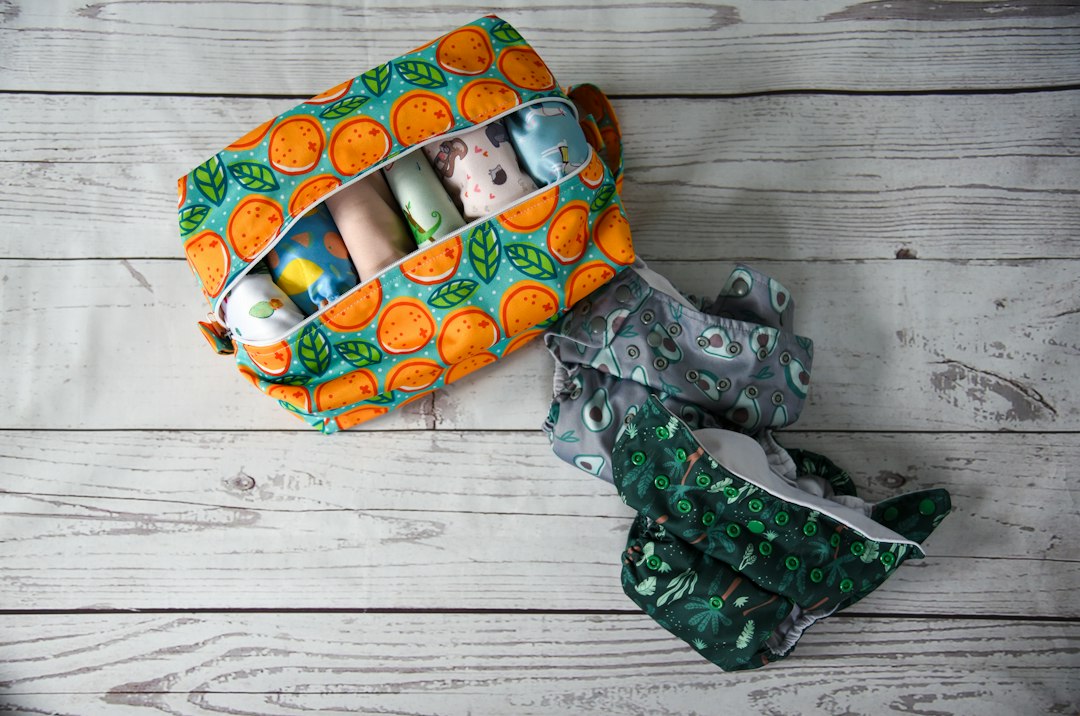
The most important part of the bag is not a pile of diapers. It is a complete change kit that can be carried to a restroom or changing area without bringing the entire bag.
- One or two diapers, depending on the outing
- Wipes
- A changing mat or clean barrier
- A disposal bag or wet bag
- Any routine diaper product your child already uses
- A small cloth for unexpected messes
Keep these items together in a pouch or a clearly defined section. Before leaving, ask one question: “Could I complete a change with only this kit?” If the answer is no, identify the missing step.
For hygiene guidance, the U.S. Centers for Disease Control and Prevention recommends bringing supplies to the changing area before beginning, separating soiled clothing, cleaning the surface as appropriate, and washing hands after a change. See the CDC’s diaper-changing steps for home settings for the current full sequence.
Pack clothing by complete outfit, not individual pieces
A loose shirt at the bottom of the bag is not useful if the pants are the item that gets wet. Pack one complete outfit that works together: top, bottom, socks if needed, and the right seasonal layer. Fold it as a single bundle or place it in a thin pouch.
For a young infant or a child who frequently needs clothing changes, add a second lightweight outfit if the outing is long or far from home. For an older toddler on a quick local trip, one compact backup may be enough.
Choose the backup for practicality. A simple outfit with easy fasteners takes less space and is easier to use in a small restroom than an elaborate set with several pieces.
Add one empty waterproof or washable pouch for wet clothing. Keeping dirty items contained protects the remaining diapers, clothing, and caregiver items from a preventable mess.
Plan food and drink around the child’s normal routine
Use the child’s usual feeding plan rather than a generic list. Look at the door-to-door time and identify which feeds, drinks, or snacks normally occur during that window. Pack the familiar supplies needed for those moments and one reasonable delay if the itinerary warrants it.
Do not use a diaper-bag article as a substitute for storage or preparation instructions. Follow the current product label and any individualized professional guidance for preparation, temperature control, storage, and timing. If a container needs to remain hot or cold, use the method recommended for that food or drink and the conditions of your outing.
For toddlers, choose familiar snacks that are easy for your child to manage in the setting you are visiting. Bring only what you expect to use and keep food separate from diapering supplies. A washable snack pouch or dedicated compartment makes the division obvious.
Pack a drink for the caregiver too. It is easy to remember everyone else and discover that the adult has nothing during a long line or playground stop.
Add cleanup supplies without duplicating the whole house
A small cleanup layer handles most ordinary messes. One burp cloth or absorbent cloth, a few tissues, and two containment bags usually do more work than several bulky packages.
A bag for trash and a separate bag for reusable or wet items are easier to understand when you need them quickly. If you use cloth diapers, pack the containment system you normally use and scale its capacity to the outing.
Check the wipes package before every trip. A large pack can still be nearly empty, and a refillable case can dry out if it has not been closed fully. Count or test rather than assuming.
Avoid carrying multiple partially used creams, sprays, and cleaning products “just in case.” Pack routine items you know you will use. Follow each product’s label, and keep anything that should not be accessible to a child secured appropriately.
Choose one comfort item and one activity
Comfort and entertainment do not need a separate tote. For a young baby, the useful item may be a familiar pacifier, small cloth, or carrier accessory already part of the routine. For a toddler, choose one compact activity such as a board book, drawing pad, or quiet toy.
Match the item to the destination. A toy with many loose pieces is a poor choice for public transit. A noisy toy may be unwelcome in a waiting room. A favorite object that is difficult to replace may not be worth taking to a crowded event.
Use the forecast and destination to add only what matters
Check the weather shortly before leaving. Add a compact layer, sun or rain protection, or a spare pair of socks when the forecast and destination make them useful. Remove last week’s weather items rather than letting the bag accumulate every season.
Then check the destination itself. Ask whether you will have changing tables, running water, food options, shade, stroller access, and a place to sit. An outing to a familiar library may need very little backup. A long outdoor event with distant restrooms needs a larger margin.
Look at the venue’s official page for bag-size rules and restricted items when you are visiting a stadium, museum, concert, or ticketed attraction. A perfectly packed diaper bag is not useful if it exceeds the venue’s allowed dimensions.
If the “day out” includes airport security, use current official rules rather than assuming ordinary liquid limits apply in the same way. The TSA’s Traveling with Children page and its item-specific guidance are the appropriate starting points.
Adjust the checklist by stage
Young infant
A young infant’s bag often gives more space to feeding supplies, burp cloths, and clothing backups. Changes may be frequent, and a small leak can affect several layers. Keep the change kit complete and easy to lift out with one hand.
Older baby
As the child sits, crawls, and eats a wider range of familiar foods, the bag may shift toward a compact snack or feeding pouch, bib, small activity, and a weather-appropriate clothing backup. Recheck clothing sizes regularly; the outfit that lived in the bag for two months may no longer fit.
Toddler
A toddler bag can often be smaller, but destination needs become more important. Consider a familiar snack, drink, simple activity, one clothing change, and the right diapering or potty supplies for the child’s current routine. Let the child carry a light personal item only if you are comfortable taking responsibility for it when they stop carrying it.
Two children
Do not simply double every quantity. Build one shared cleanup layer, then separate the items that must match each child: diaper size, clothing, food plan, and personal comfort item. Label similar pouches if a rushed caregiver could confuse them.
Two sample packing loads
Load A: a 90-minute neighborhood outing
Imagine a walk to the library and playground, with a total door-to-door time of about 90 minutes. Home and nearby stores are accessible. A sensible load might include two diapers, a small wipes case, changing mat, one disposal bag, one compact clothing change, a cloth, the child’s routine drink or snack if due, caregiver phone and keys, and one small activity.
This load is small because the consequence of an unusual delay is manageable. It still contains one complete change and a backup outfit, which covers the problems that would be hardest to solve immediately.
Load B: a four-to-five-hour outing
Now imagine a museum visit that includes driving, parking, lunch, and a wait to enter. The door-to-door time may reach five hours. Start with the normal number of diaper changes expected in that window, add one extra, bring a checked quantity of wipes, one or two disposal bags, a complete outfit, the usual food or drink supplies for the schedule, a caregiver drink, a weather layer, and one quiet activity.
Add a second clothing layer or a larger diaper margin only if your child’s routine, distance from home, or destination makes it sensible. The longer outing is not an invitation to pack every optional item; it is a reason to calculate the routine more carefully.
Keep clean, quick-access, and used items separate
You do not need a complicated pocket system for this checklist to work. Three simple zones are enough: clean care supplies, quick-access items, and used or dirty items.
- Clean care zone: diapers, wipes, changing mat, clothing, and routine food supplies in separate clean pouches
- Quick-access zone: phone, keys, tickets, caregiver wallet, and the first item needed at arrival
- Used-item zone: an empty wet bag or washable pouch that stays isolated until needed
This separation prevents the common problem of placing keys or a phone on a changing surface while searching for supplies. It also makes the reset at home faster because every used item has one destination.
A future organization system can become more detailed, but the checklist should work in any tote, backpack, stroller basket, or purpose-built diaper bag.
Use a two-minute reset after every outing
The best-packed diaper bag is the one that is ready next time. When you get home, remove trash and wet items first. Refill the exact number of diapers and wipes used. Replace the clothing bundle if it was worn. Return food containers and caregiver items to their normal places.
Then check three things that quietly expire as useful supplies: clothing size, weather layer, and wipes condition. A monthly reminder is enough for many families.
Keep a short restock card in the bag or on your phone: diapers, wipes, clothes, bags, routine food supplies, and caregiver essentials. The card reduces the mental load of rebuilding the bag from memory.
What to leave out
Overpacking creates its own problems: a heavy bag, hidden essentials, slow handoffs between caregivers, and old products that remain forgotten for months. Consider leaving out duplicate toys, full-size packages when a checked travel amount will do, several “maybe” outfits, and products your child does not normally use.
Do not add medication, topical products, or feeding equipment solely because a generic checklist mentions them. Pack individualized items according to your established plan and applicable professional or product instructions.
Remove receipts, used wrappers, outgrown clothes, dried wipes, and last season’s gear during the reset. Space is most valuable when it helps you see the next essential item.
Printable final check before you leave
Run this check at the door. It is designed to be quick enough that you will actually use it.
- Confirm the realistic door-to-door time and destination.
- Pack the expected diaper changes plus your chosen delay margin.
- Verify the wipes container is stocked and closed.
- Confirm the changing kit is complete by itself.
- Pack one complete, correctly sized clothing change.
- Add the child’s usual food or drink supplies for the schedule.
- Add one weather layer or destination-specific item if needed.
- Add one compact comfort item or activity.
- Confirm phone, keys, wallet, tickets, and caregiver drink.
- Make sure the used-item pouch is empty and ready.
- Remove anything that does not solve a likely need on this outing.
The bottom line
A reliable diaper bag is not the fullest bag. It is a bag built around the outing’s duration, the child’s normal routine, and one reasonable delay. Start with a complete change kit, one clothing backup, the scheduled food or drink supplies, simple cleanup tools, and the caregiver’s essentials.
Scale up only when distance, weather, venue rules, or your child’s current stage gives you a clear reason. Then reset the bag when you return home. That small routine keeps the next departure calmer than any oversized master list.
One Comment